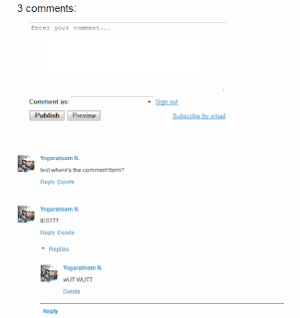
By Default, All blogger blogs comment system is structured in such a way that the comment box aalways appear below comments. But with little trick, You can add the comment box just above comments.
There are no much reasons or benefits of this trick but it can help to save your user the stress of scrolling to the bottom of the page to make a comment. Imagine when you have about 200 comments.
Lets get started.
To Get This done, follow this steps below:
#1. Goto Your Blogger Blog Dashboard .
#2. Locate the blog you want to customize it on
#3. Goto Template
#4. Click Edit Html (Remember to Backup Your Blog Template incase you Make a mistake
#5. Click “Expand Widget Templates” box
#6. Find the code below
<div class=’comments-content’>
<b:if cond=’data:post.embedCommentForm’>
<b:include data=’post’ name=’threaded_comment_js’/>
</b:if>
<div id=’comment-holder’>
<data:post.commentHtml/>
</div>
</div>
<p class=’comment-footer’>
<b:if cond=’data:post.allowNewComments’>
<b:include data=’post’ name=’threaded-comment-form’/>
<b:else/>
<data:post.noNewCommentsText/>
</b:if>
</p>
#7. Delete ithe Above code or Replace it with The code below:
<p class=’comment-footer’>
<b:if cond=’data:post.allowNewComments’>
<b:include data=’post’ name=’threaded-comment-form’/>
<b:else/>
<data:post.noNewCommentsText/>
</b:if>
</p>
<div class=’comments-content’>
<b:if cond=’data:post.embedCommentForm’>
<b:include data=’post’ name=’threaded_comment_js’/>
</b:if>
<div id=’comment-holder’>
<data:post.commentHtml/>
</div>
</div>
#8. Now Find </body>
#9. Just Above the Code above, Insert The Code below:
<!– comment form before comment content starts –>
<script src=’http://code.jquery.com/jquery-latest.js’/>
<script>
var yob = $(“.comment-replybox-thread”).closest(“.comment-thread”).parent(“div”).children(“.comment-thread”).children(“.comment-replybox-thread”);
jQuery(‘.comment-thread ol’).before(jQuery(yob));
</script>
<!– comment form before comment content ends –>
Save Template and You are Done.
Credits: TechTrickHome