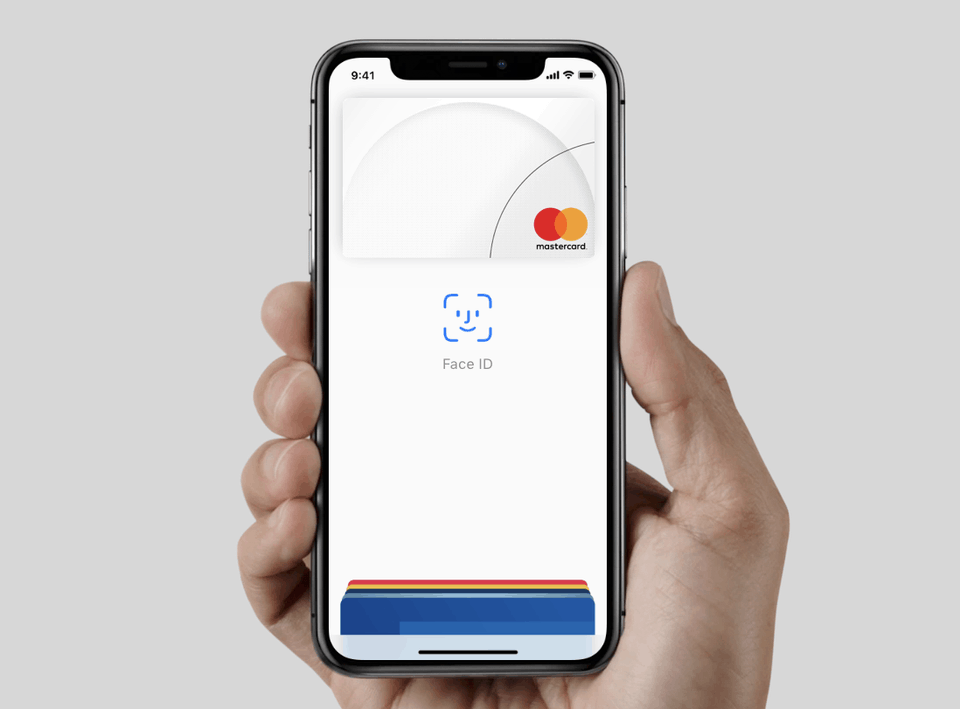
It is rampant for people to move about with several credit cards these days. This is not just impractical but also a danger waiting to happen because you can misplace any of them. Which is why it is best to have all your cash in one spot that you easily have access to, without needing to dip your hand into any wallet. Which is why you need Apple Pay. If you use an Apple device and have several credit cards in your wallet, this tutorial will highlight how you can easily transfer that cash to one spot and keep paying via Apple Way. In this article, we explore a comprehensive tutorial on how to activate apple pay on the iPhone.

How Does Apple Pay work?
Before breaking down the details concerning Apple Pay, lets highlight how this feature really works.
As we said, Apple Pay is focused on letting you make payments without needing to move about with your physical wallet. This Apple feature is dependent on a different iPhone application named Wallet.
Wallet, formerly referred to as Passbook, is an iOS app that stands for your digital wallet. Therefore, you will be able to add all of your credit and debit cards into this remarkable simple-to-use digital wallet. Plus, you can add and manage several coupons, film tickets, reward cards, boarding passes e.t.c. Because Wallet is a “compulsory” if you intend to use Apple Pay, ensure it is set up first.
The sections below will break down how you will be able to add your credit cards to your Wallet. It will all depend on your iOS device, so, select the tutorial you know is for you.
1. Setting Up The Wallet App On iPhone
Setting up this app is very easy. The instructions below will reveal everything you have to know:
- Launch your Wallet application on your Apple device.
- Click Add Credit or Debit Card if you will be adding credit cards to Wallet for the first time. (If you have used the application before, click on the plus sign to include a new credit or debit card.)
- Click “Next,” which can be seen in the upper-right corner of your display.
To wrap up the setup, you will need to agree to the T and C and finish the verification. You can select “Complete Verification Later,” but we will advise you to verify your cards immediately since you will not be able to use them otherwise.
2. Setting Up The Wallet App On iPad
If you want to use Apple Pay on your iPad, this is how setting up your Wallet app is possible:
- Head to Settings.
- Choose Wallet and Apple Pay.
- Click “Add Card.”
- Type in your credit card details and other requested info in the right fields.
- Click Next.
- When you are done with that, your bank or credit card issuer(s) will initiate the verification of the info that you have typed in.
- As soon as the verification process is finished, Apple Pay can now be used.

3. Setting Up The Wallet Application On Apple Watch
To add a credit card to the Wallet application on your Apple Watch, do this:
- Launch the Wallet application on your iPhone.
- Head to the My Watch tab.
- Select the watch you intend to set Apple Pay on.
- Click on Wallet and Apple Pay.
- Click “Add Card.”
- Adhere to the instructions and type in the appropriate information.
- Click Next.
Like in previous cases, you will need to hold on for your credit card issuers to verify the info you typed in. If the verification goes on smoothly, Apple Pay can now be used.
4. Setting Up The Wallet App On Mac
If you wish to add a card to the Wallet application and make use of the Apple Pay feature on Mac, you need to have a model with a Touch ID. This is how you can add a card to the Wallet on your Mac:
- Head to System Preferences.
- Choose Wallet and Apple Pay.
- Click Add Card.
- Type in the needed information.
- Click Next.
- You will need to hold on for the bank or credit card issuer to confirm the info you entered.
There you have it – a comprehensive tutorial on how to activate Apple pay on your iPhone. If you have any questions, feel free to drop them in the comment section below.


