The Synology DS220j is basically a 2 bay NAS that definitely suits a lot of personal storage needs for small offices and home, and in this article, we are going to take a deep dive into its features, the specification, who this is meant for, how to set up and how to use this Network Attached Storage device.
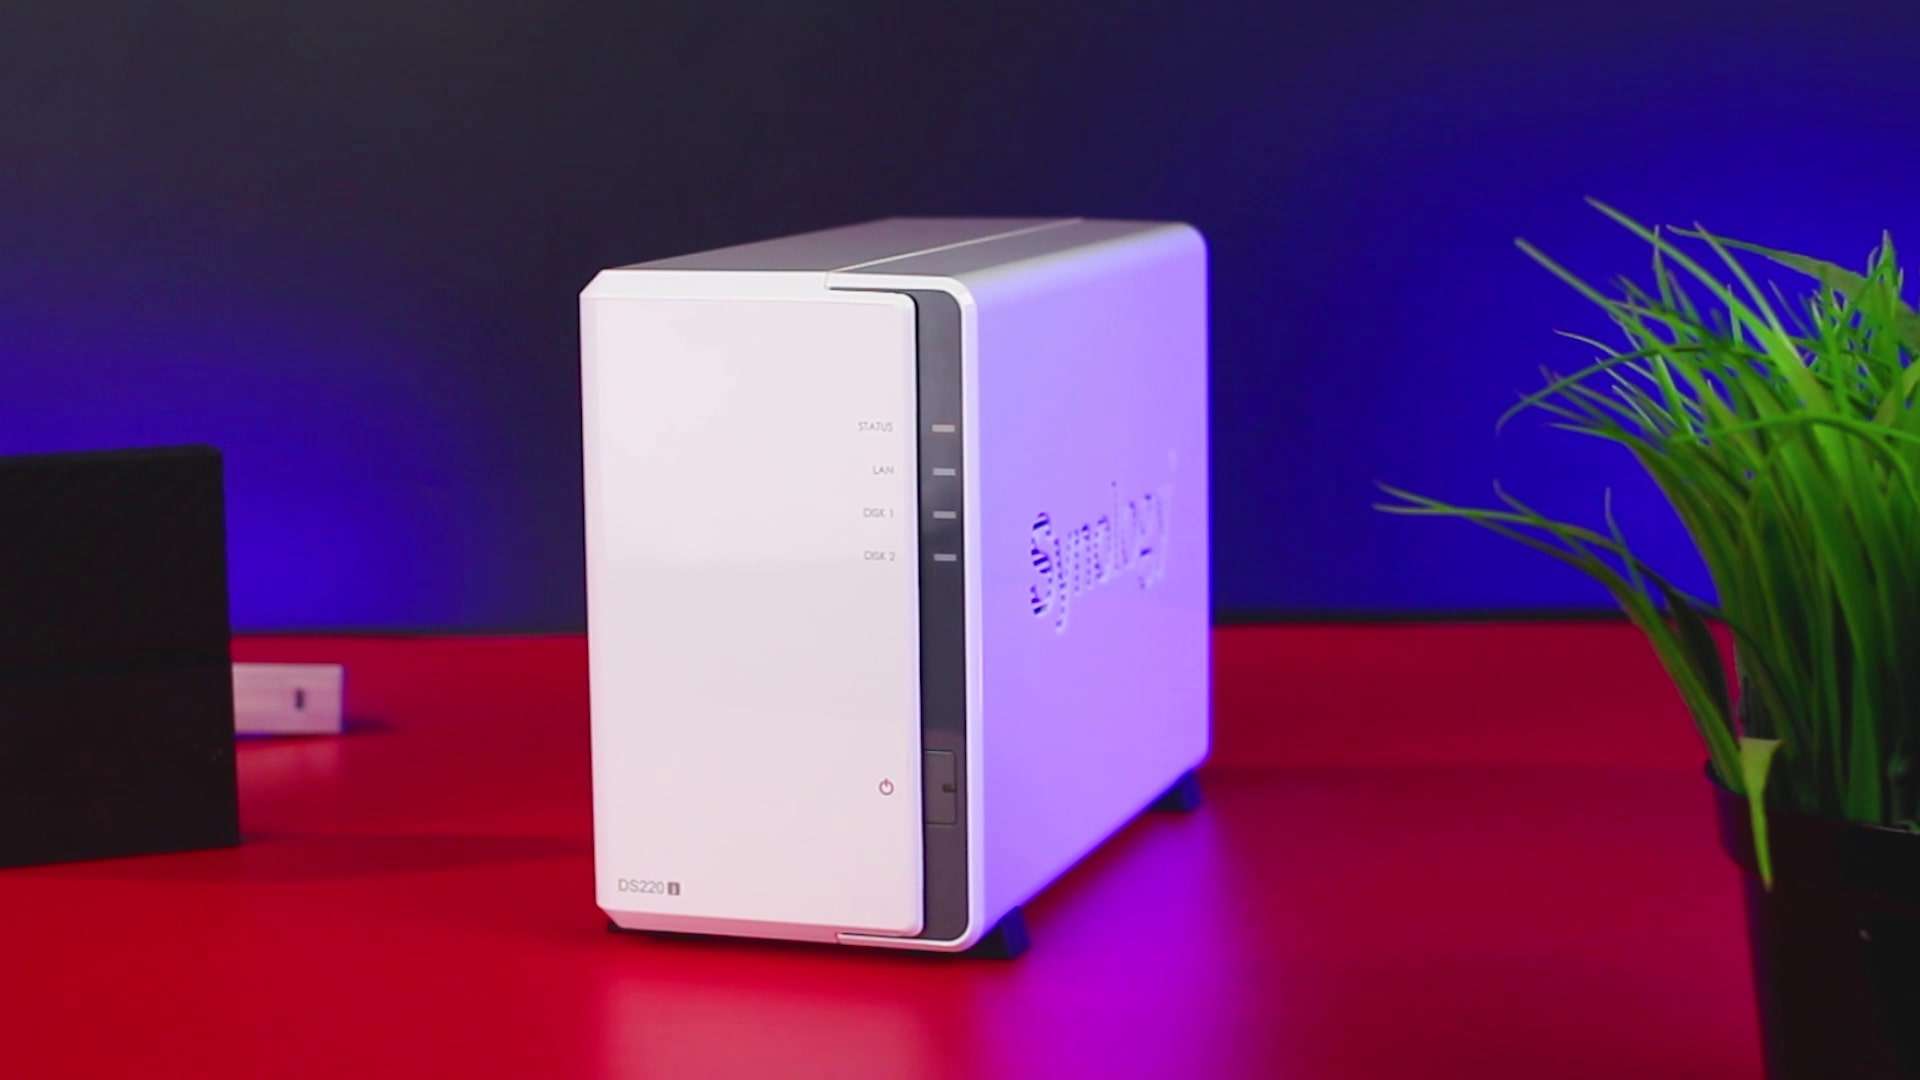
I’d quickly explain what a NAS is, give you the features of this particular NAS, How to set it up and basically if this would suit your personal and small business storage needs.
If you prefer video review, kindly watch the below video review on Youtube for the Synology DS220j NAS, otherwise, continue reading below.
So, what is a Network Attached Storage?
In simple terms, it is a device that allows you to store and share data (or file) for multiple multiple computers from one location. The files or data can be accessed both by computers in the network and even outside the network which you give access to.
Features/Specs of the Synology DS220J
The Synology DS220j is a 2 bay NAS, and by 2 Bay I mean it accepts just 2 drives, giving benefits of dual drives over single drive solutions which include features such as being able to have redundancy option (i.e, you can mirror your drives attached) and you can have up to a maximum of 16TB on each bay. Below and the basic specs and features of the Synology DS220J.
- Quad-core 1.6GHz Realtek processor
- 512MB DDR4 RAM
- 2 Bay
Unboxing
Inside the box of the DS220J NAS, you get the following listed items:
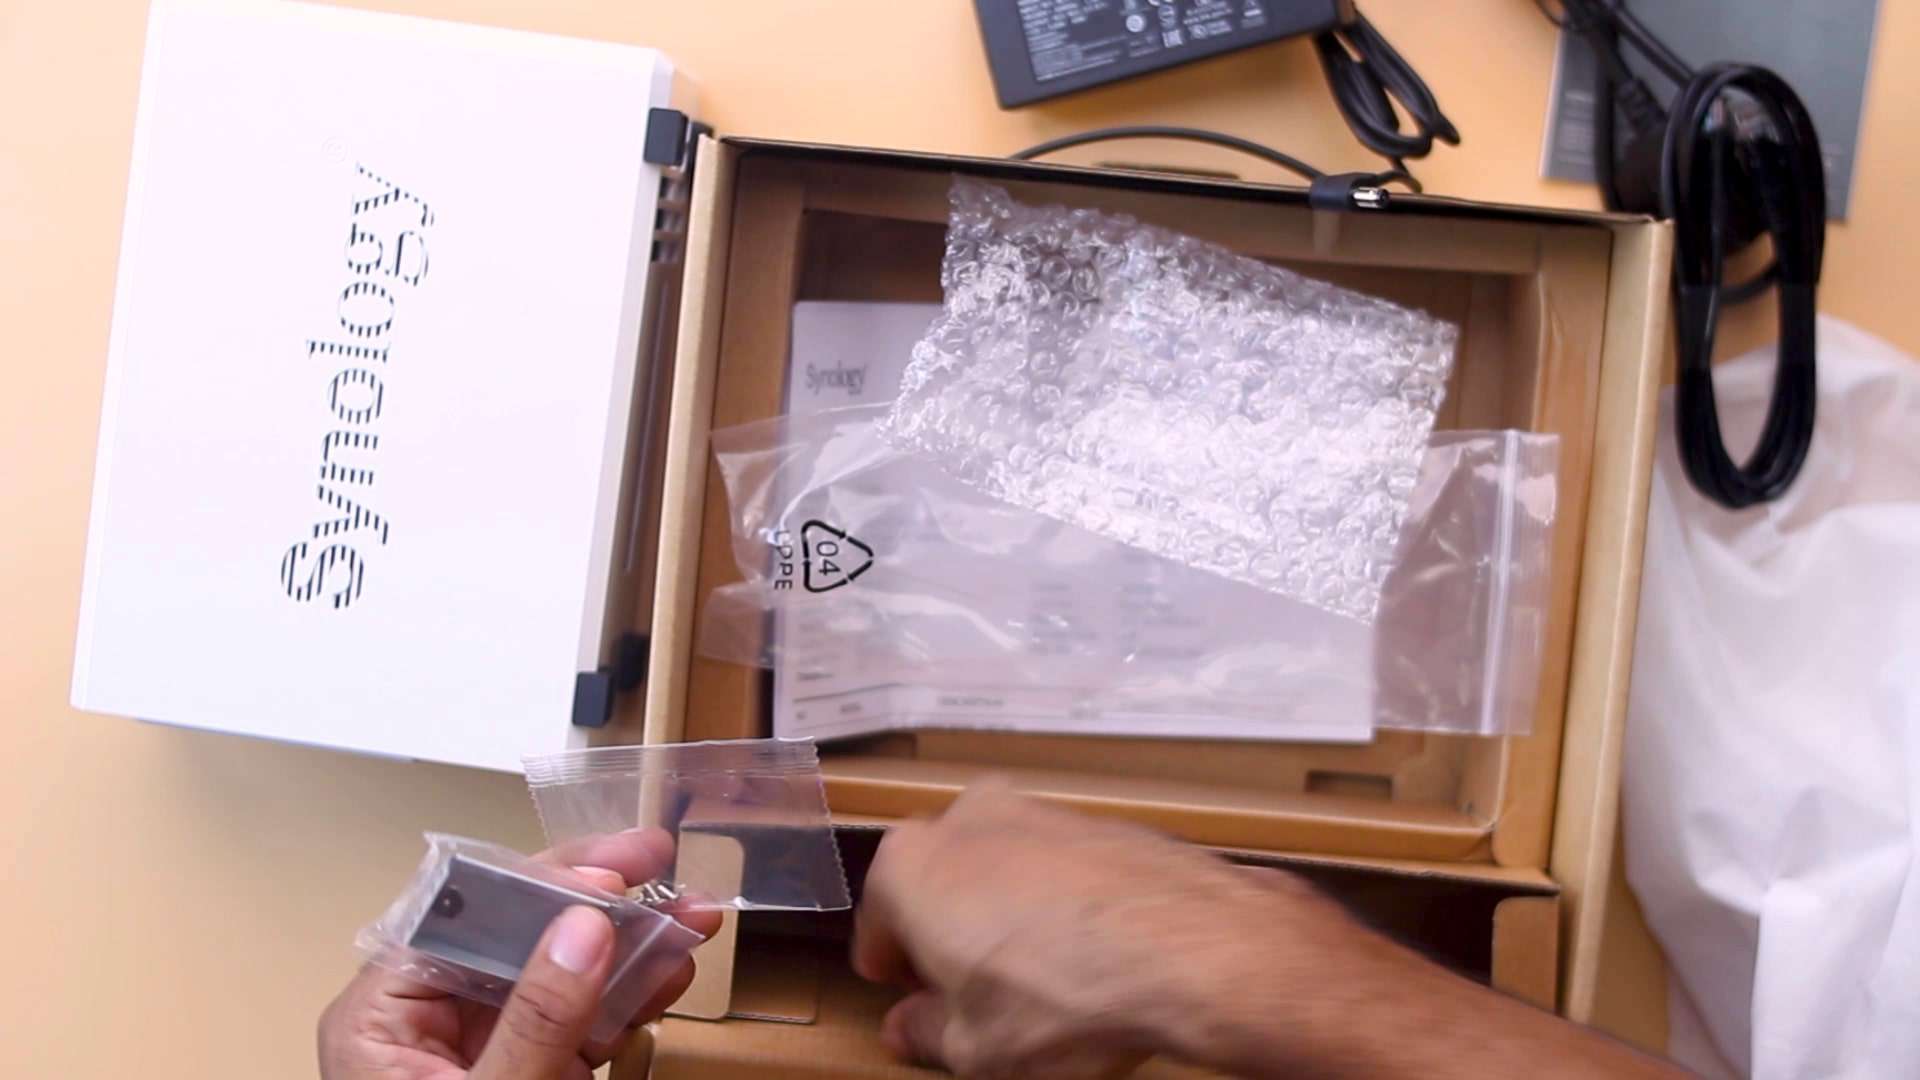
- The 2 bay NAS itself
- Power adaptor
- wall power plug,
- an ethernet cable
- little metal piece to aid you in installing 2.5inch drives and
- a couple of screws to hold everything together
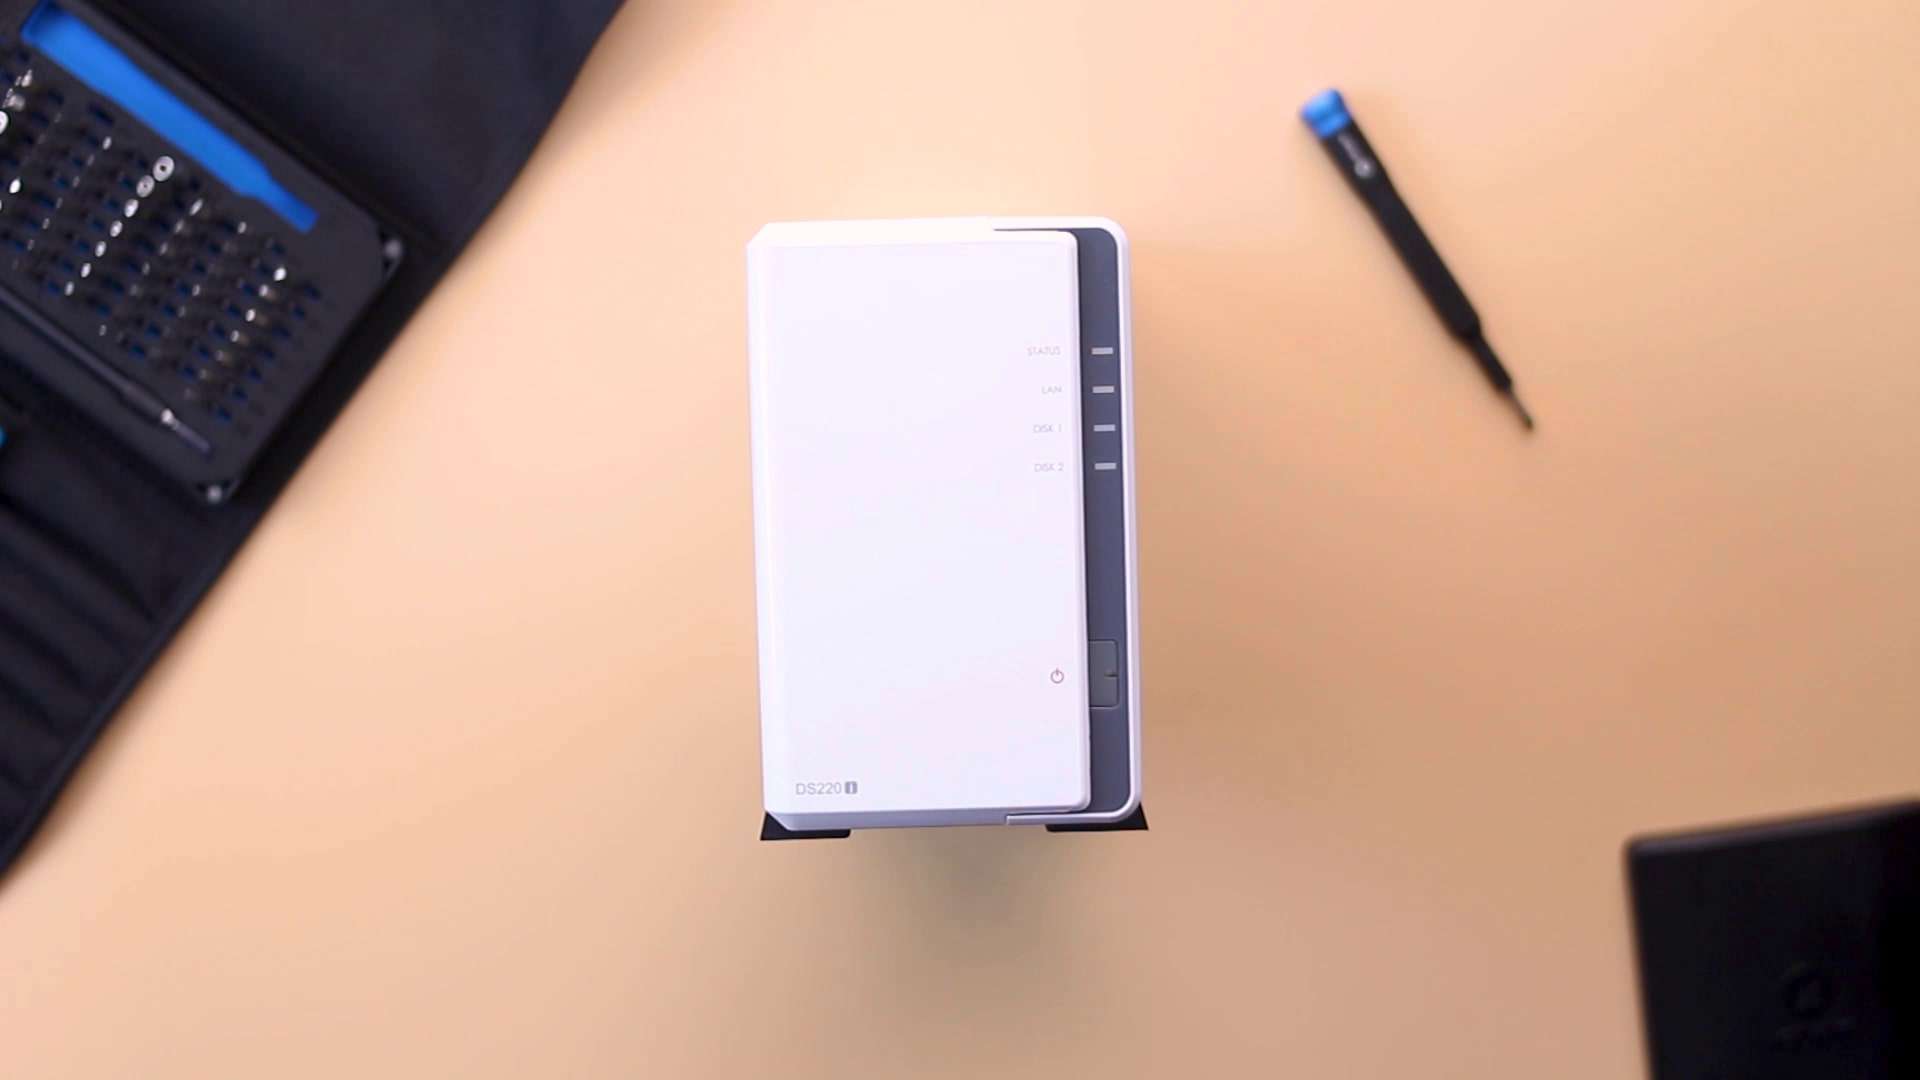
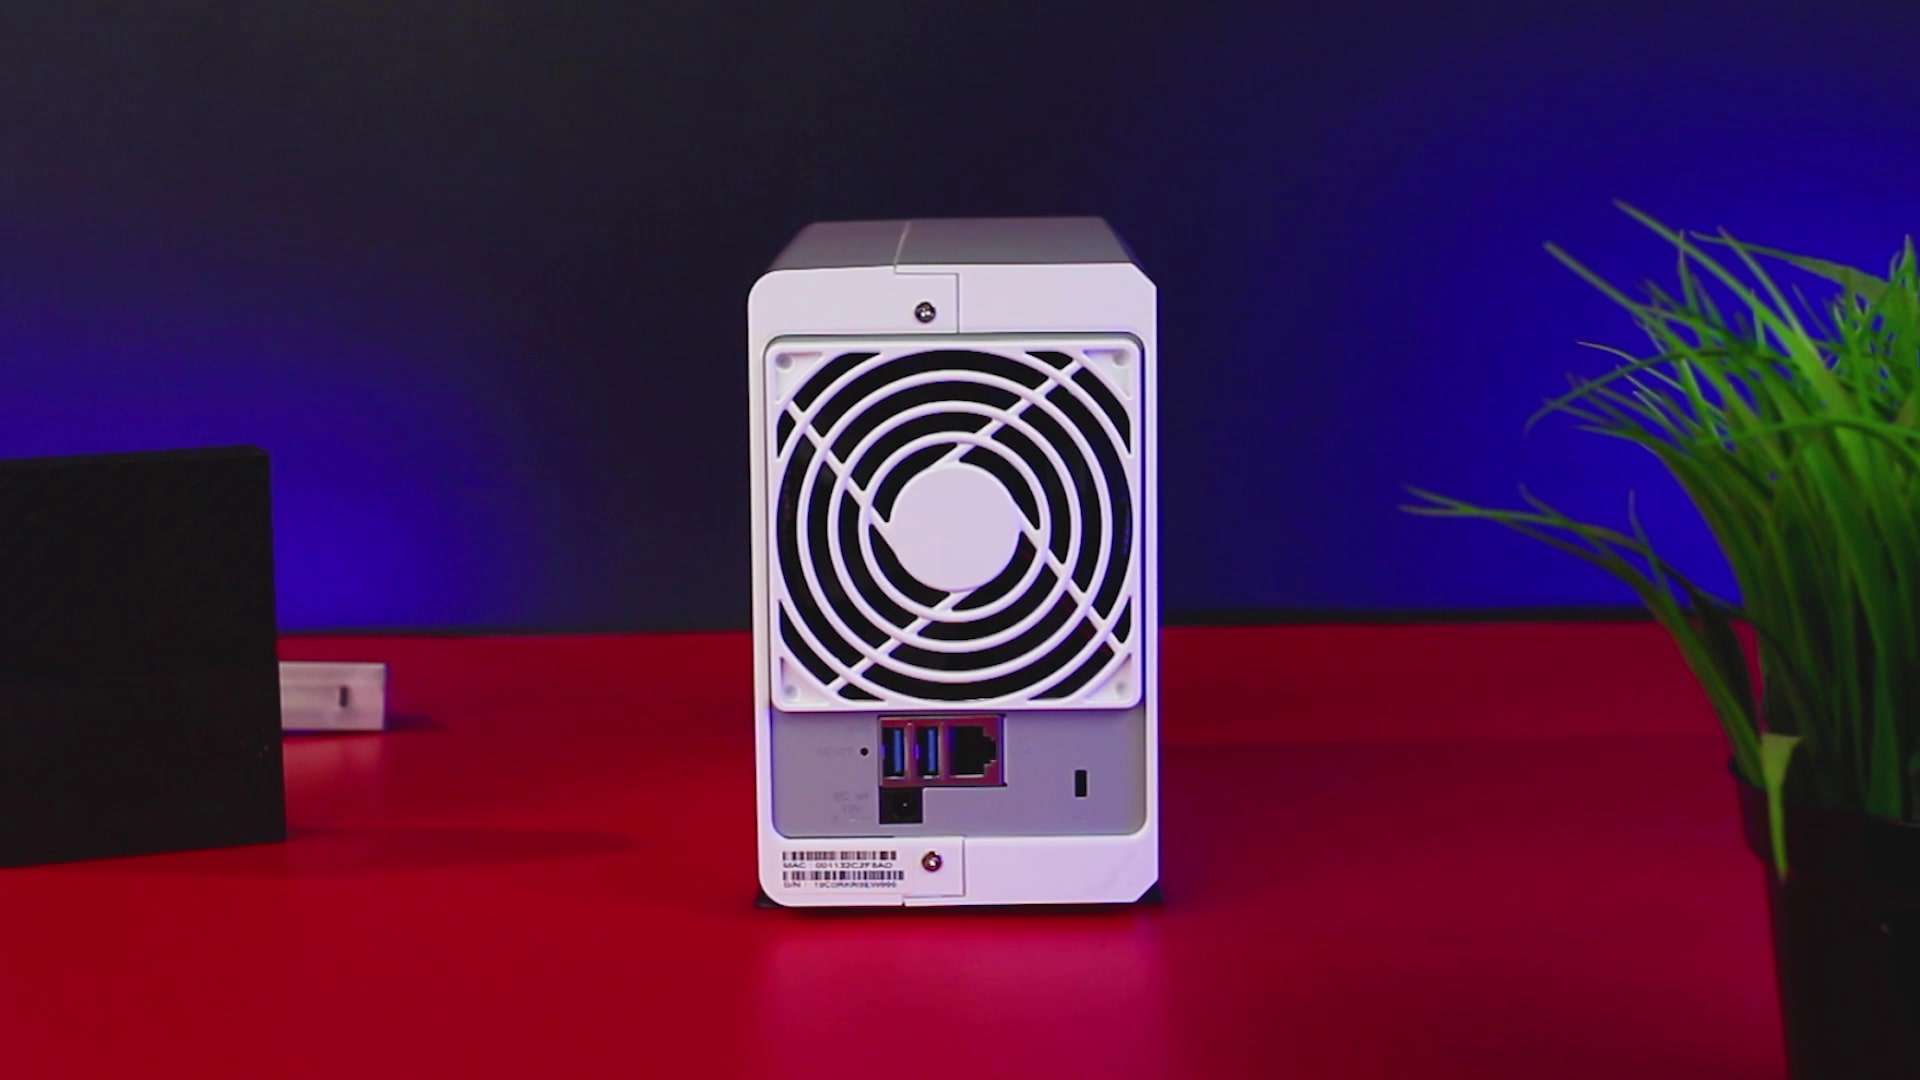
The front side has 4 LED indictors from top to bottom, the status indicator, the LAN connection, LED indicator to show disk connections, and the power LED indicator and button while the rear features 2 USB 3.0 ports to connect external drives for either backup or data transfer, the 1 Gigabit LAN port to connect this to your network and also the DC power in port.
Installing Drives on the DS220j
Even though the DS220j does not give you access to installing the drives from the front, installation here is quite simple and straight to the point. First off, you have to slide the two sides apart, and you get to see the part where you can install your drives.
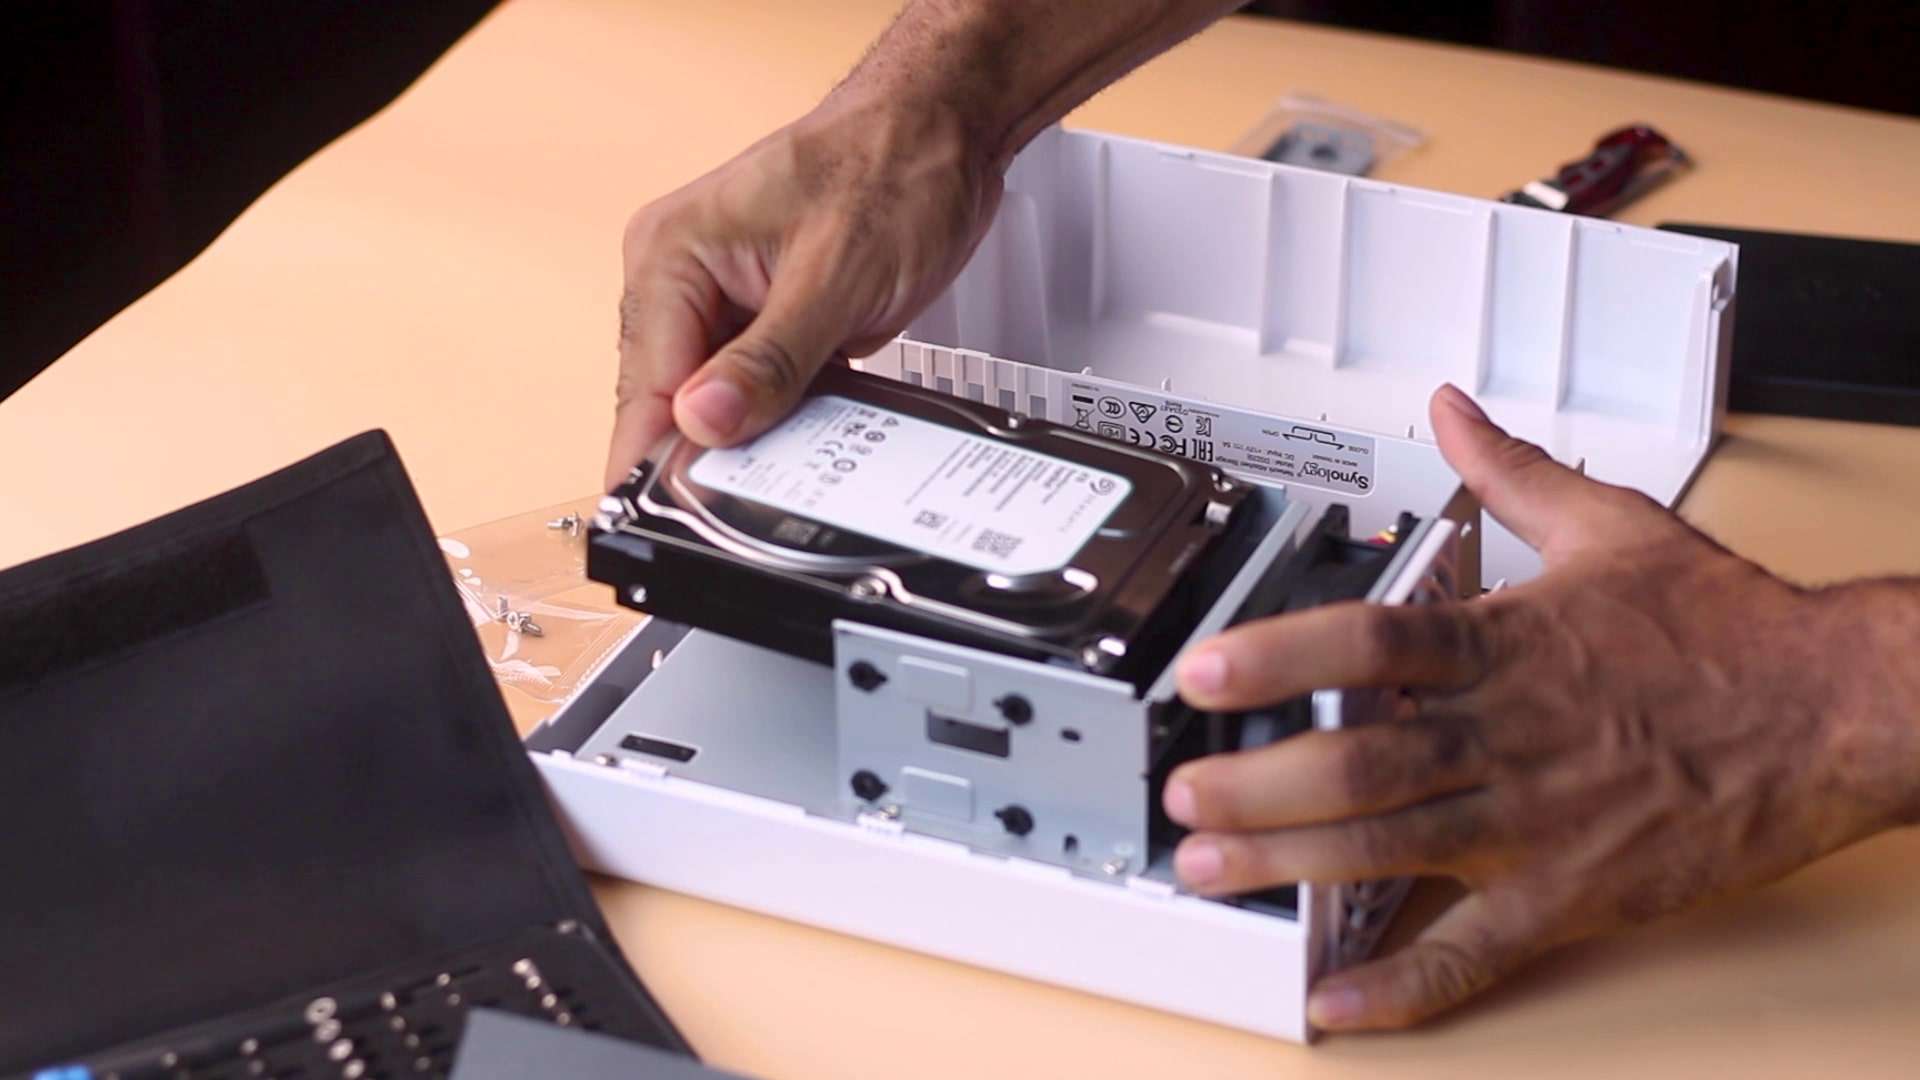
These are basically SATA connections, but even though you can use regular hard drives, they would not withstand long and heavy use, hence you have to pick up a dedicated NAS hard drive such as the Seagate IronWolf NAS HDD, or that RED NAS drives from Western Digital. This unit can take up to 16TB of storage on each bay, depending on your RAID configuration, you can get a max of 32 one I got from Amazon.
Place the hard drive as so and fit in the slot, then using the screws from the box, hold the drive firmly to the case. With that out of the way, firmly cover and screw the two pieces of the box together.
Now, with the ethernet cable, connect from one of the LAN ports of your router to the 1Gbit LAN port on the Synology, and then turn it on.
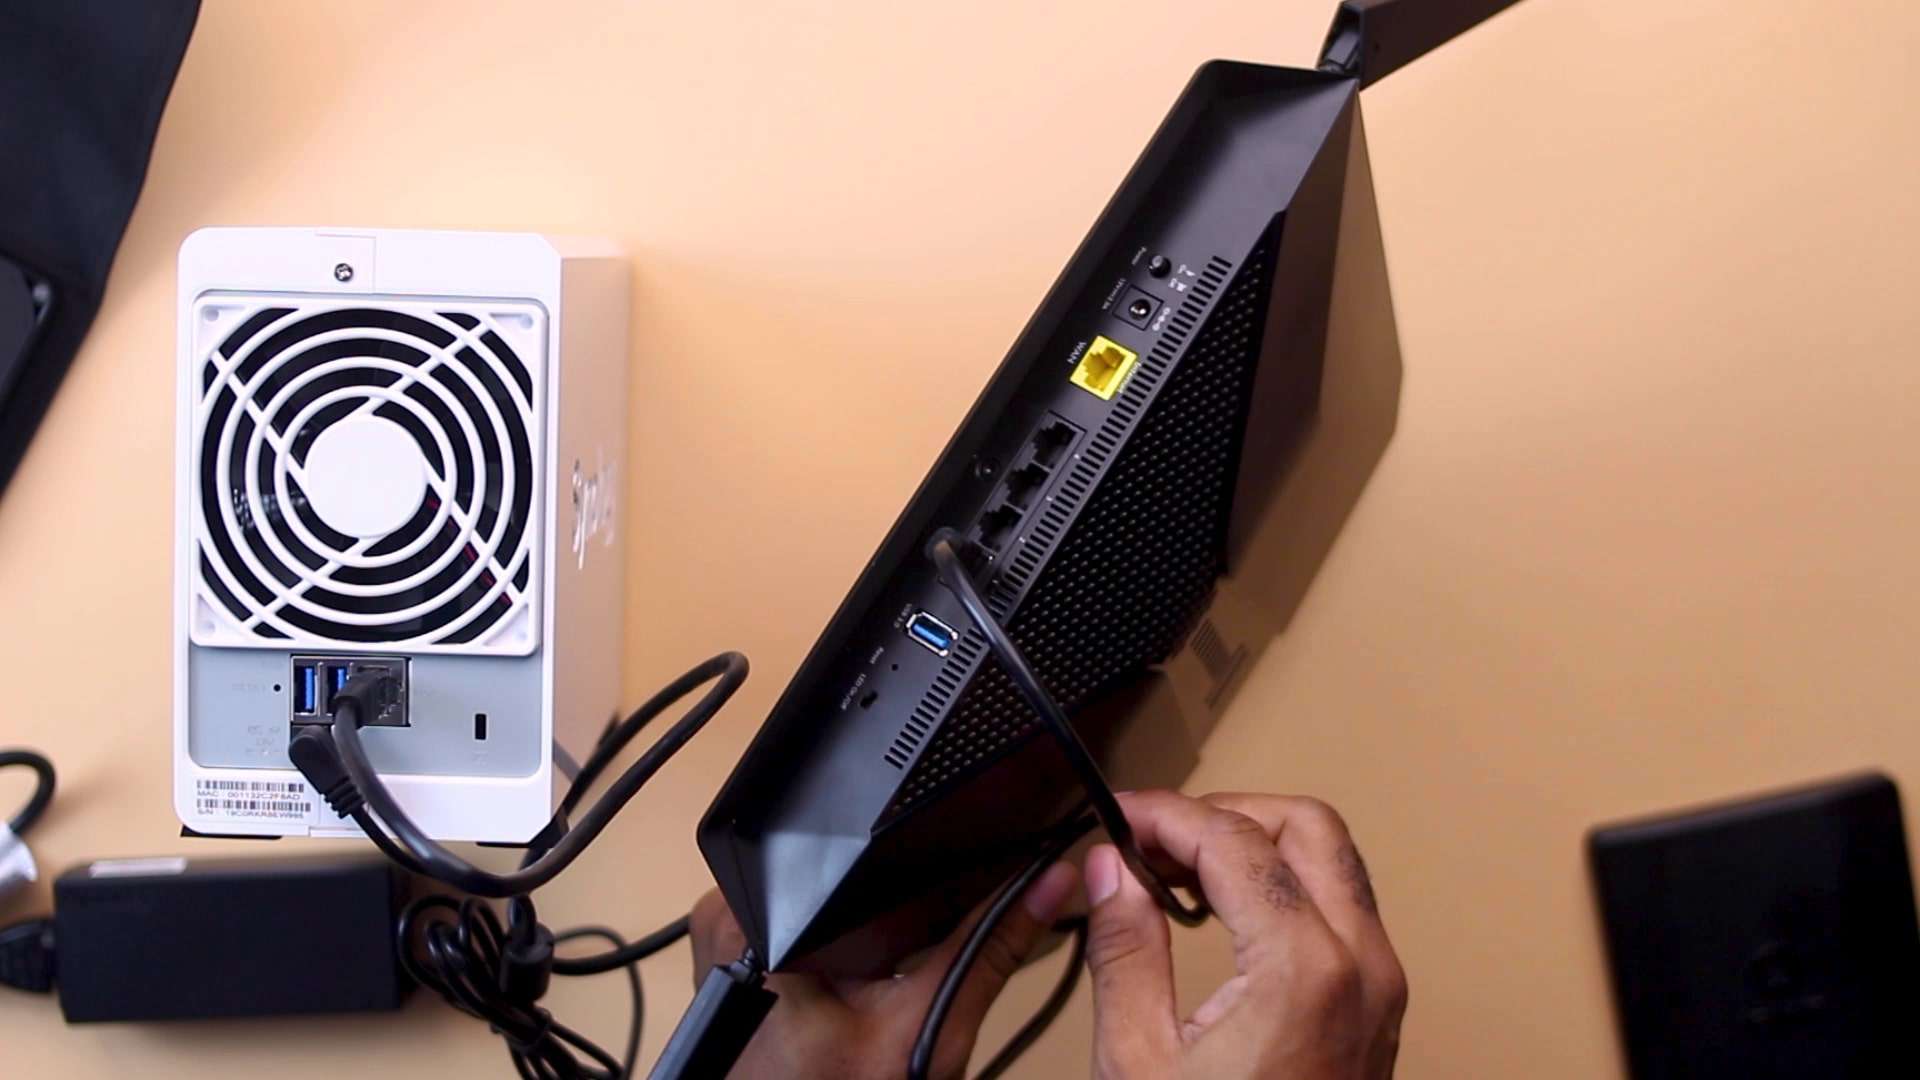
You have to find the IP address for the NAS on your network and the simplest way to go about this is to log into your router control panel, check the attached devices and you should find it there.
How to Setup Your DS220J NAS
Once you launch the IP address assigned to the Synology NAS from your browser, you should be greeted with a screen as shown.
- Click on Setup
- Download the latest firmware of the DiskStation manager from sinology’s website
- Click on browse, locate and continue with the installation.
- Agree to the terms in order to format the drive, it should take a little under 10mins to get things up and running.
Once that’s done, the server restarts and you should be able to enter a name for your server and the login credentials you intend using for this purpose.
Synology should prompt you with some apps you can install on the server, some of which WebStation to host a website and a whole lot. You can basically skip this process for now if you wish.
How to Create A Shared Folder on Your Synology NAS
Now, you should be able to access the files on the NAS, but one thing you shouldn’t forget is creating a shared folder that would be accessible to devices on the network. To do that,
- open File Station and that should prompt you with how to set this up.
You can access the NAS in your network devices on Windows, Linux, Mac, Android and iOS.
How to Access Your Synology NAS from Mac Finder
If you are not able to find the drive from finder on Mac, here is how to go about mounting the NAS on finder just like an external drive
- While in Finder, click on the Go Menu
- select Connect to server
This should mount your drive right away and you should be able to access and play files from this server over wifi or ethernet connection as long as you are on the network.
How to Access Your Synology NAS from Windows File Explorer
For windows, if you do not find the drive mounted in File Explorer, here is how to get it to show:
- Go to Disk Station
- open the control panel
- click on file services
- Go to the Advanced Tab
- and turn ON the WS-Discovery
You should be able to access the NAS over explorer just like every other mounted drive.
Accessing Your NAS from Android or iOS
If you wish to access the files on your NAS using an Android device, you can file the Synology app called DS File from the playstore or follow these of iOS, fill in your NAS login credentials and gain instant access to the shared directories.
Verdict: Who is the Synology DS220j for?
The J series from Synology isn’t geared towards the high-end users obviously, considering the CPU and power, it’s geared towards users who want to do music and video streaming around a home network, also to easily access files and photos from all devices in the same network and that’s where that pricing comes in, it is really affordable for a price of $169.
But if you’d be running virtual machines, HTTP servers, or even transcoding videos over the internet, there are better and more powerful Synology devices to pick from. We would cover a whole lot more on Synology in the coming weeks.
Giveaway
We would be giving away a Synology DS220J to one of our subscribers/readers here. All you have to do is follow this survey link, fill in your details, and we would pick one of you as winner. Make sure to also follow me on Twitter @oscarfranky to know when I announce the winner by the 9th of June. Goodluck guys.


