For pro bloggers, it is quite easy to set up blogger in a matter of minutes, but for newbies, it can be a tiring struggle. But i’ll teach you simple ways to install the wordpress blogging platform on your web hosting server uisng differnt approaches.
WordPress can be installed using the Automatic Methods which includes the use of Fantastico and Softacolous or any other Autoinstaller. Also Manaul methods can lso be used which involves you uploading the wordpress files through ftp and also setting up the databases.
Automatic Method
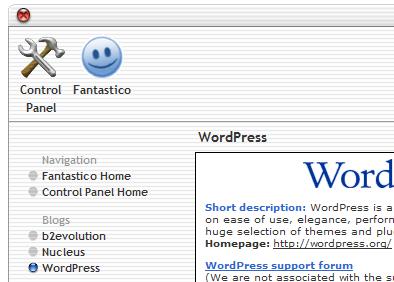
It’s quite easy and most recommended method fo newbies. It requires to login to your Control Panel, Access either Fantastico or Softacolous under the Software category in your Control Panel. After you’ve selected any, now icons would appear with names next to them. Locate wordpress and click on it, now click on Install if Softacolous or New Installation if using Fantastico. Fill in the boxes that appear such as the username, password, site title, leave the directory empty, fill all, then click on the submit button. Then you’re done. Your wordpress blog is now set up.
Manual Method.
Let’s say your hosting company does not support Control Panel Installattions, then that’s where the need for this method arises.

What you need to do first is, download the WordPress script from wordpress.org . Download the latest release then unzip it. You must have noticed 3 directories as you unziped it ( wp- admin, wp-content, wp-includes ) and some other php, txt and html files.
Here is what we need to prepare now:
1. Upload the Files – You need to upload all the files into your Hosting Server. Some can let you upload the zip file and unzip it on your server directory. That would be much easier.
2. Create The Database – Now Log into your control panel, Then create a new database which would be for your WordPress . Setting a database requires basically, a database name, Username and password. After you have created that, On CPanel, there’s an option adding user to database, therefore create the user details, that’s what you would use in logging into wordpress.
3. Connect WordPress With the Database – After you’ve creates the database, you need to connect wordpress with the database. All you need do is edit one of the files you have uploaded, which is the “ wp-config- sample.php ” file. Open it with any text editor.
Now match your database name, username and password where ever it asks you to with the ones you created earlier.
Places to fill in these can be found as
'DB_NAME'
'D B_USER'
'DB_PASSW'
Now save and rename the file to wp-config.php – Then re-upload it to your control panel where you have others uploaded,( in-case you want to edit the file from the control-panel, just rename the file to wp-config.php after editing.
That’s it. You have now successfully installed WordPress Manually. Hit the Like button if this was helpful.


2 Comments
I prefer using the automatic method
Yes, it’s simple and easy for Newbies.