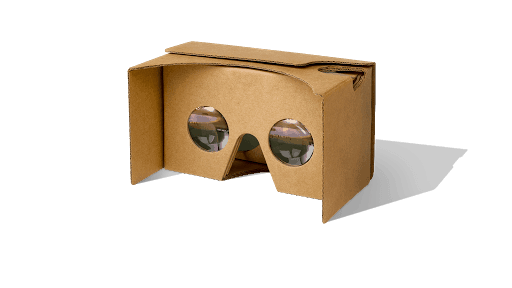
Google Cardboard is Google’s cheap answer to virtual reality (VR) experience: It is simply a no-frills viewer that anyone can insert their smartphones into. It fits displays up to 6 inches, and Google disclosed that it functions with eyeglasses as well. And if you guessed if Google Cardboard is made of cardboard, you are right. In this article, we explore a comprehensive tutorial, on how to use Google cardboard. If you had no idea on how to utilize the features of the Google Cardboard, you will learn it here.
It also comes with some Cardboard-friendly applications that were precisely developed to work with the viewer. Google said “most Cardboard apps work with Android 4.1+ and the latest iOS smartphones.”

How Does Google Cardboard Work?
For VR to work, you need to be immersed in a different world. Meaning shutting out every other thing. (Hence, the several clips of people not remembering their surrounding as they attempt to fight with some imaginary enemy. Most people even jump and break into things as the battle happens.)
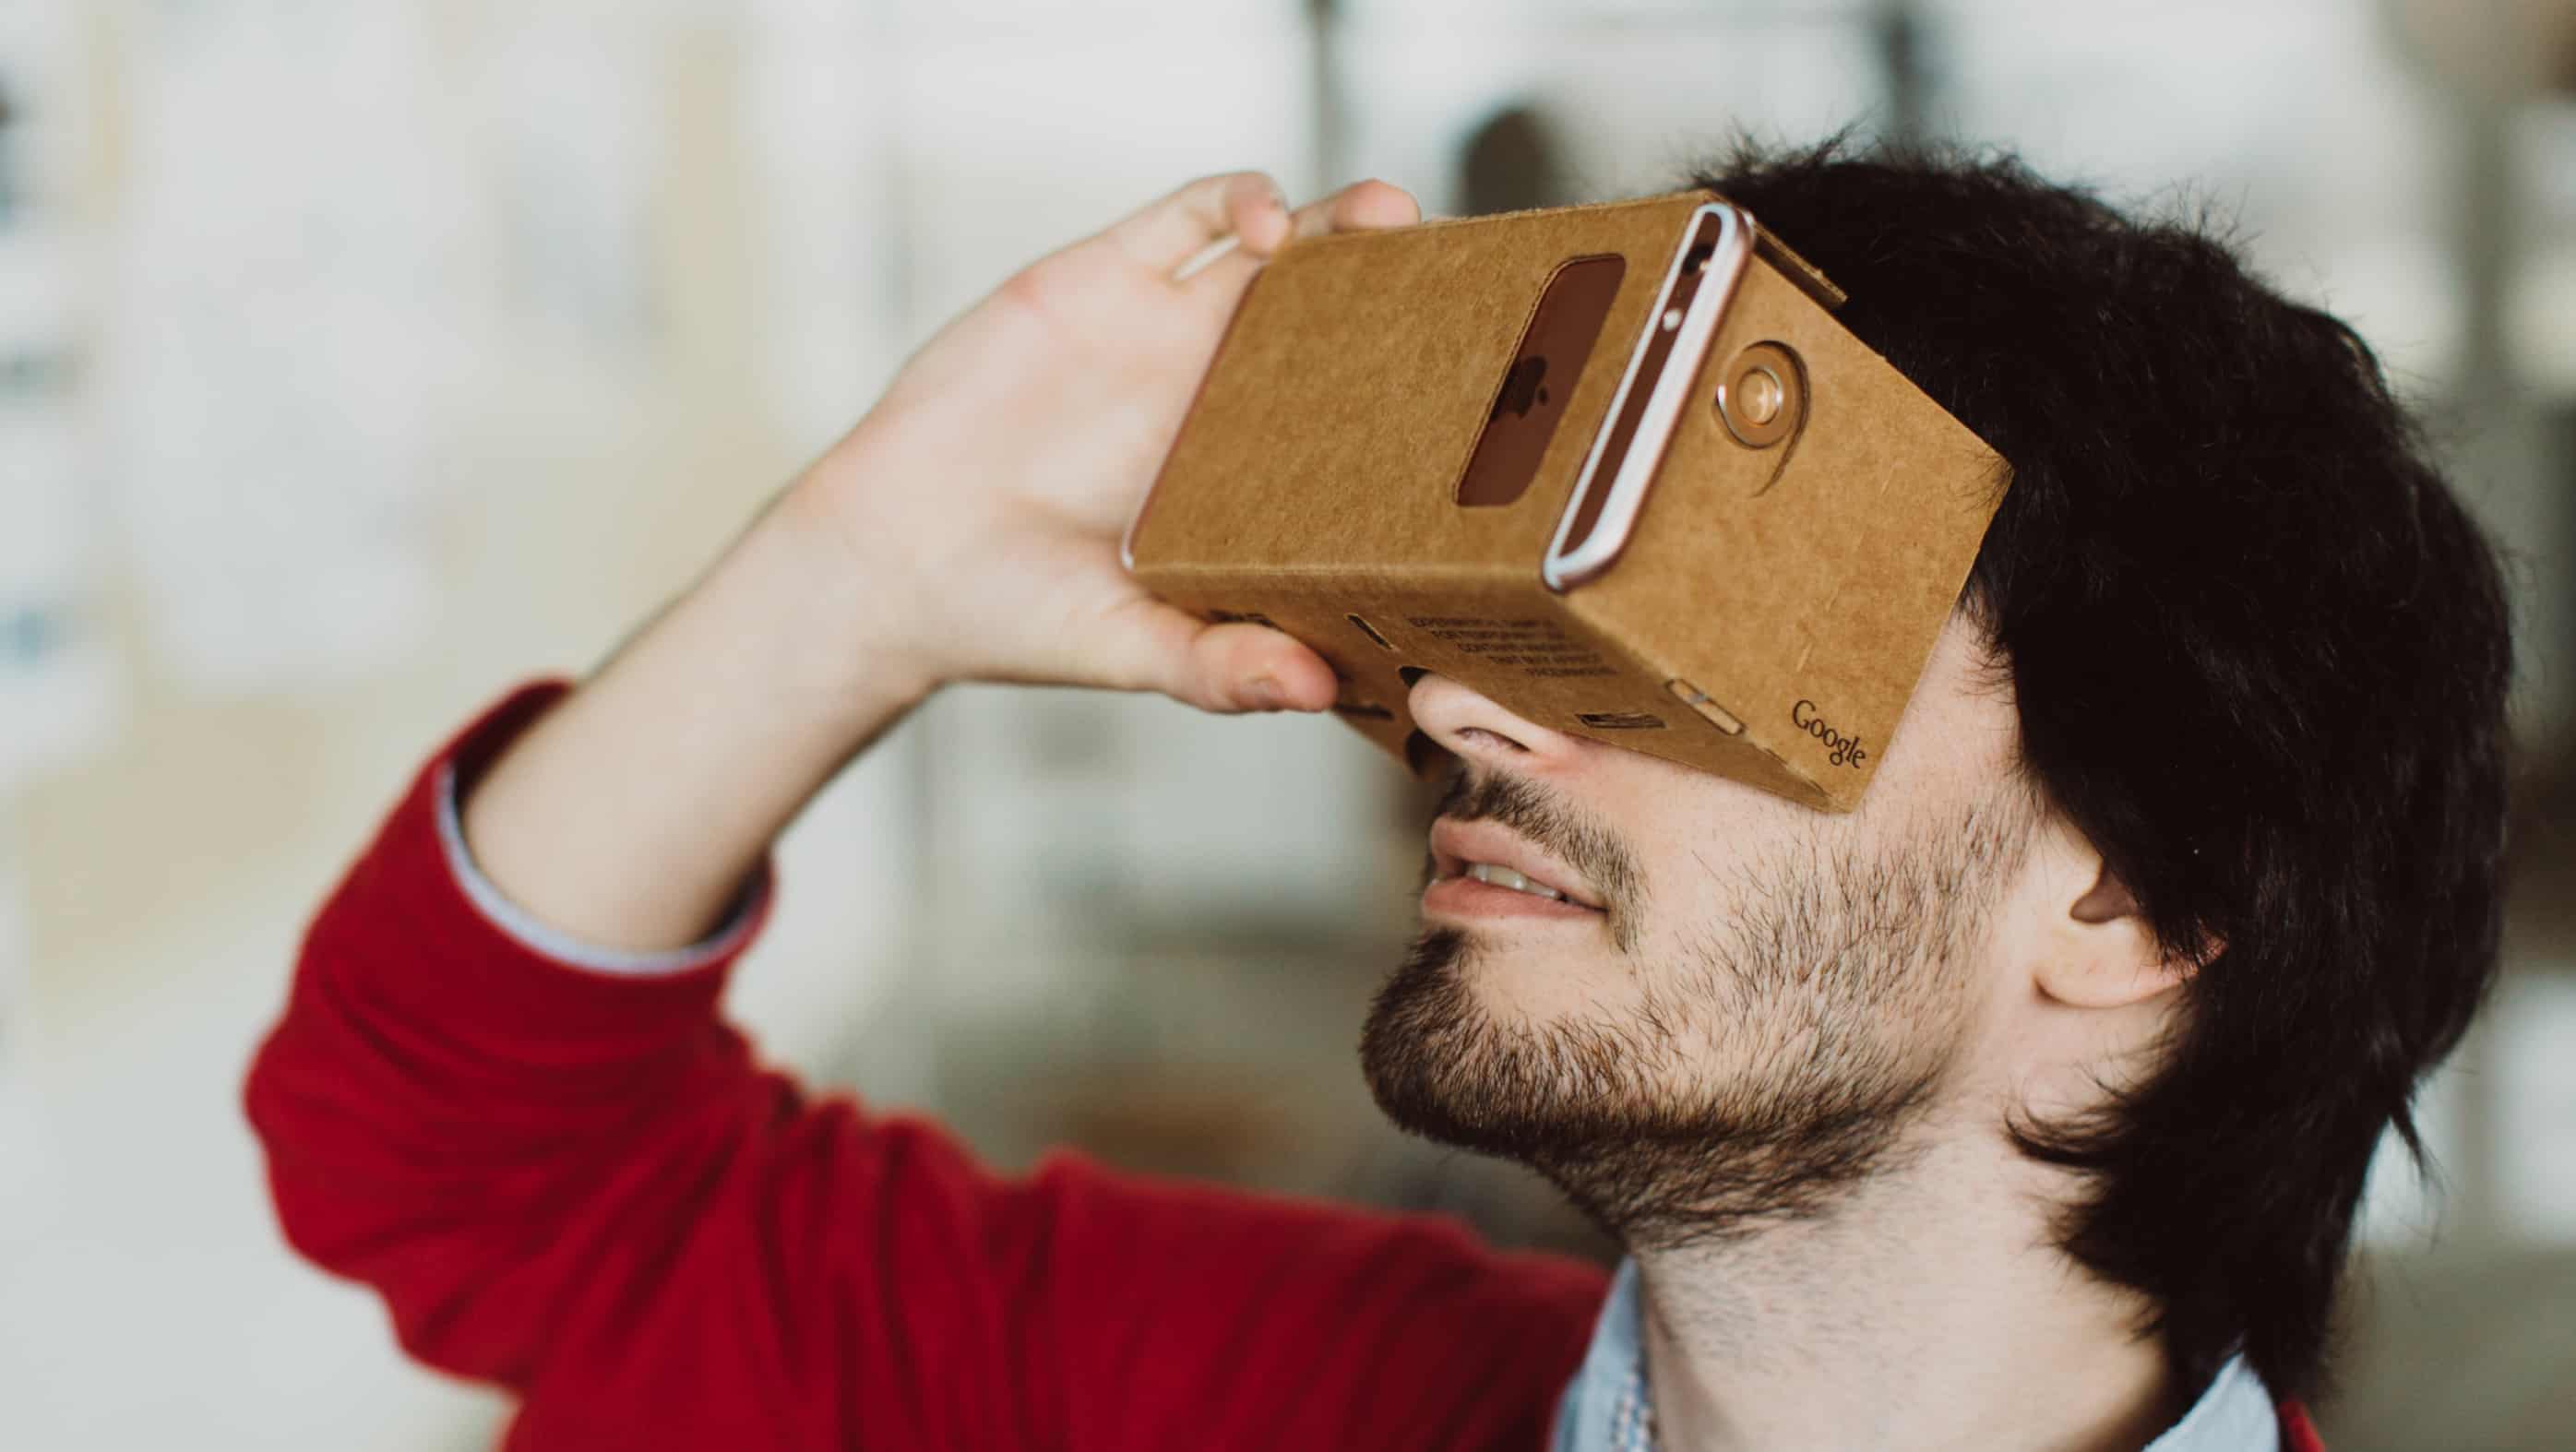
Google Cardboard is a virtual reality construct that lets users shut out external visual stimuli and concentrate on their phone’s screen. Immediately you have it, you just need to fold it into shape, pop your smartphone into it, cue up your preferred VR-friendly application and have it held up to your head to begin to enjoy your VR experience.
- Must Read: Top 7 Best Standalone VR Headsets
Cardboard’s 2 plastic acrylic lenses make the experience more realistic by imitating how our eyes process the actual world (plus how VR screens are set up too,) as the side flaps block distractions makes sure that the eyes remain trained on anything that appears inside those areas.
The one disadvantage (except for no head-strap) is that Cardboard does not prevent external noise, which impacts the experience negatively. But the truth is, it is safer not to get way too immersed into the experience anyway, especially if there are objects that could easily get broken where you are.
Also, remember that you need to take regular breaks as you use any Virtual Reality-viewer device to stay away from headaches and eye strain.

How To Setup Google Cardboard
Setting up the Google Cardboard is very easy to do, that’s if you have the right information. Thank be to God you stumbled on this article, as it is no accident.
Must Read: 10 Best Virtual Reality Apps For Android
For starters, to set up a Cardboard VR device, you will need an Android smartphone, running Android 4.1 or higher. iPhones are also supported by Google Cardboard. After you might have gotten this your smartphone ready, you are to follow the steps listed below:
- Download the Cardboard compatible VR app from either the Google Playstore ( for Android phones) or the Apple iTunes ( for iPhones).
- Launch the Google Cardboard app on your Android smartphone or iPhone
- Scan the QR code on your Google Cardboard
- Place your Android Smartphone or iPhone, inside the Cardboard.
Must Read: Top 10 Best VR Games For Android
Note: If your Android smartphone comes with NFC support, the Google Cardboard’s NFC tag detects it when the smartphone is put in and launches the Cardboard app automatically. If you want to disable this, just turn off NFC on your smartphone.
How To Use Google Cardboard
Once you have successfully completed the steps listed above, you will be presented with a virtual interface, with different apps and features, that define virtual reality. To properly navigate through these apps and make use of the features, you should take note of the following:
- Move your head left or right or in a circle to navigate around.
- Select an option by aiming at an option and pressing the magnet button situated at the left side of the device.
- To go the main menu any time, tilt the Cardboard 90 degrees to your right.
Where can I Get Mine?
This virtual reality headset costs $15 i.e 5,377 Naira from Google (or $25 i.e 8,963 Naira for both viewers.) You can even get one built for yourself (using a pizza box, for instance), Google also offers directions to help you achieve that. However, you need more things like lenses, magnets, and a rubber band and then create time to combine everything into a VR made by you.
Must Read: VR Headsets that are Compatible with Xbox One
There you have it, a comprehensive tutorial on how to use the Google Cardboard. If you have any questions, feel free to drop them in the comment section below.


