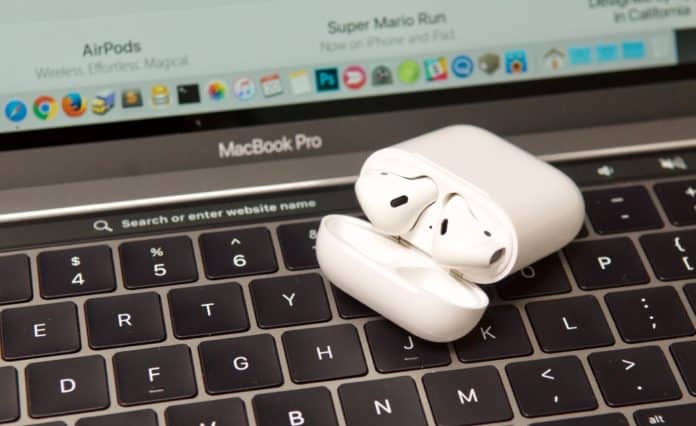
Apple’s AirPods have rapidly become an ever-present symbol for wireless earphones. After the release of the iPhone 11 and 11 Pro, the probability that owners will purchase the headphones is quite high. However, even if you are already used to rocking your AirPods on your iPhone 11, there are still several other devices they can be used with. A few of them are the iPad Pro, iPod Touch, or Mac. In this article, we explore a comprehensive tutorial on how to connect your Airpods to any Mac.
But if you are an iCloud account owner, Apple has simplified the process of using your AirPods to pair and set up your MacBook Air and your iPhone 11 Pro Max as fast as possible. See how below:
How Your AirPods Will Automatically Connect To Your Mac?
If you have already set up your AirPods with your iPhone and your Mac is signed in to iCloud with the same Apple ID, then you are set to go.
Must Read: 5 Best Airpods Alternatives
To confirm, place your AirPods in your ears and check if the Bluetooth or volume drop-down menu from the menu bar on your Mac. Then select AirPods from the list.

If My Airpods Fail To Pair On Their Own?
If your AirPods are not listed, there are some things you will need to try:
- Charge your AirPods. And ensure they are well charged.
- Access Bluetooth preferences on your Mac. You can head to the Bluetooth drop-down menu from your menu bar and choose “Open Bluetooth Preferences.” Or head to the Apple menu, choose System Preferences and click Bluetooth.
- Confirm that Bluetooth is enabled.
- Put the 2 AirPods in their charging case and open the lid.
- Press and hold the setup button on the back of the case until the status light flashes white.
- Head back to the Bluetooth preferences window on your Mac and choose AirPods from the Devices list.
- Lastly, tap Connect.
Must Read: Airpods 2 Vs Airpods 1: Reasons To Upgrade
There you have it – a comprehensive tutorial on how to connect your Airpods to any Mac. If you have any questions as regards this tutorial, feel free to drop them in the comment section below.


